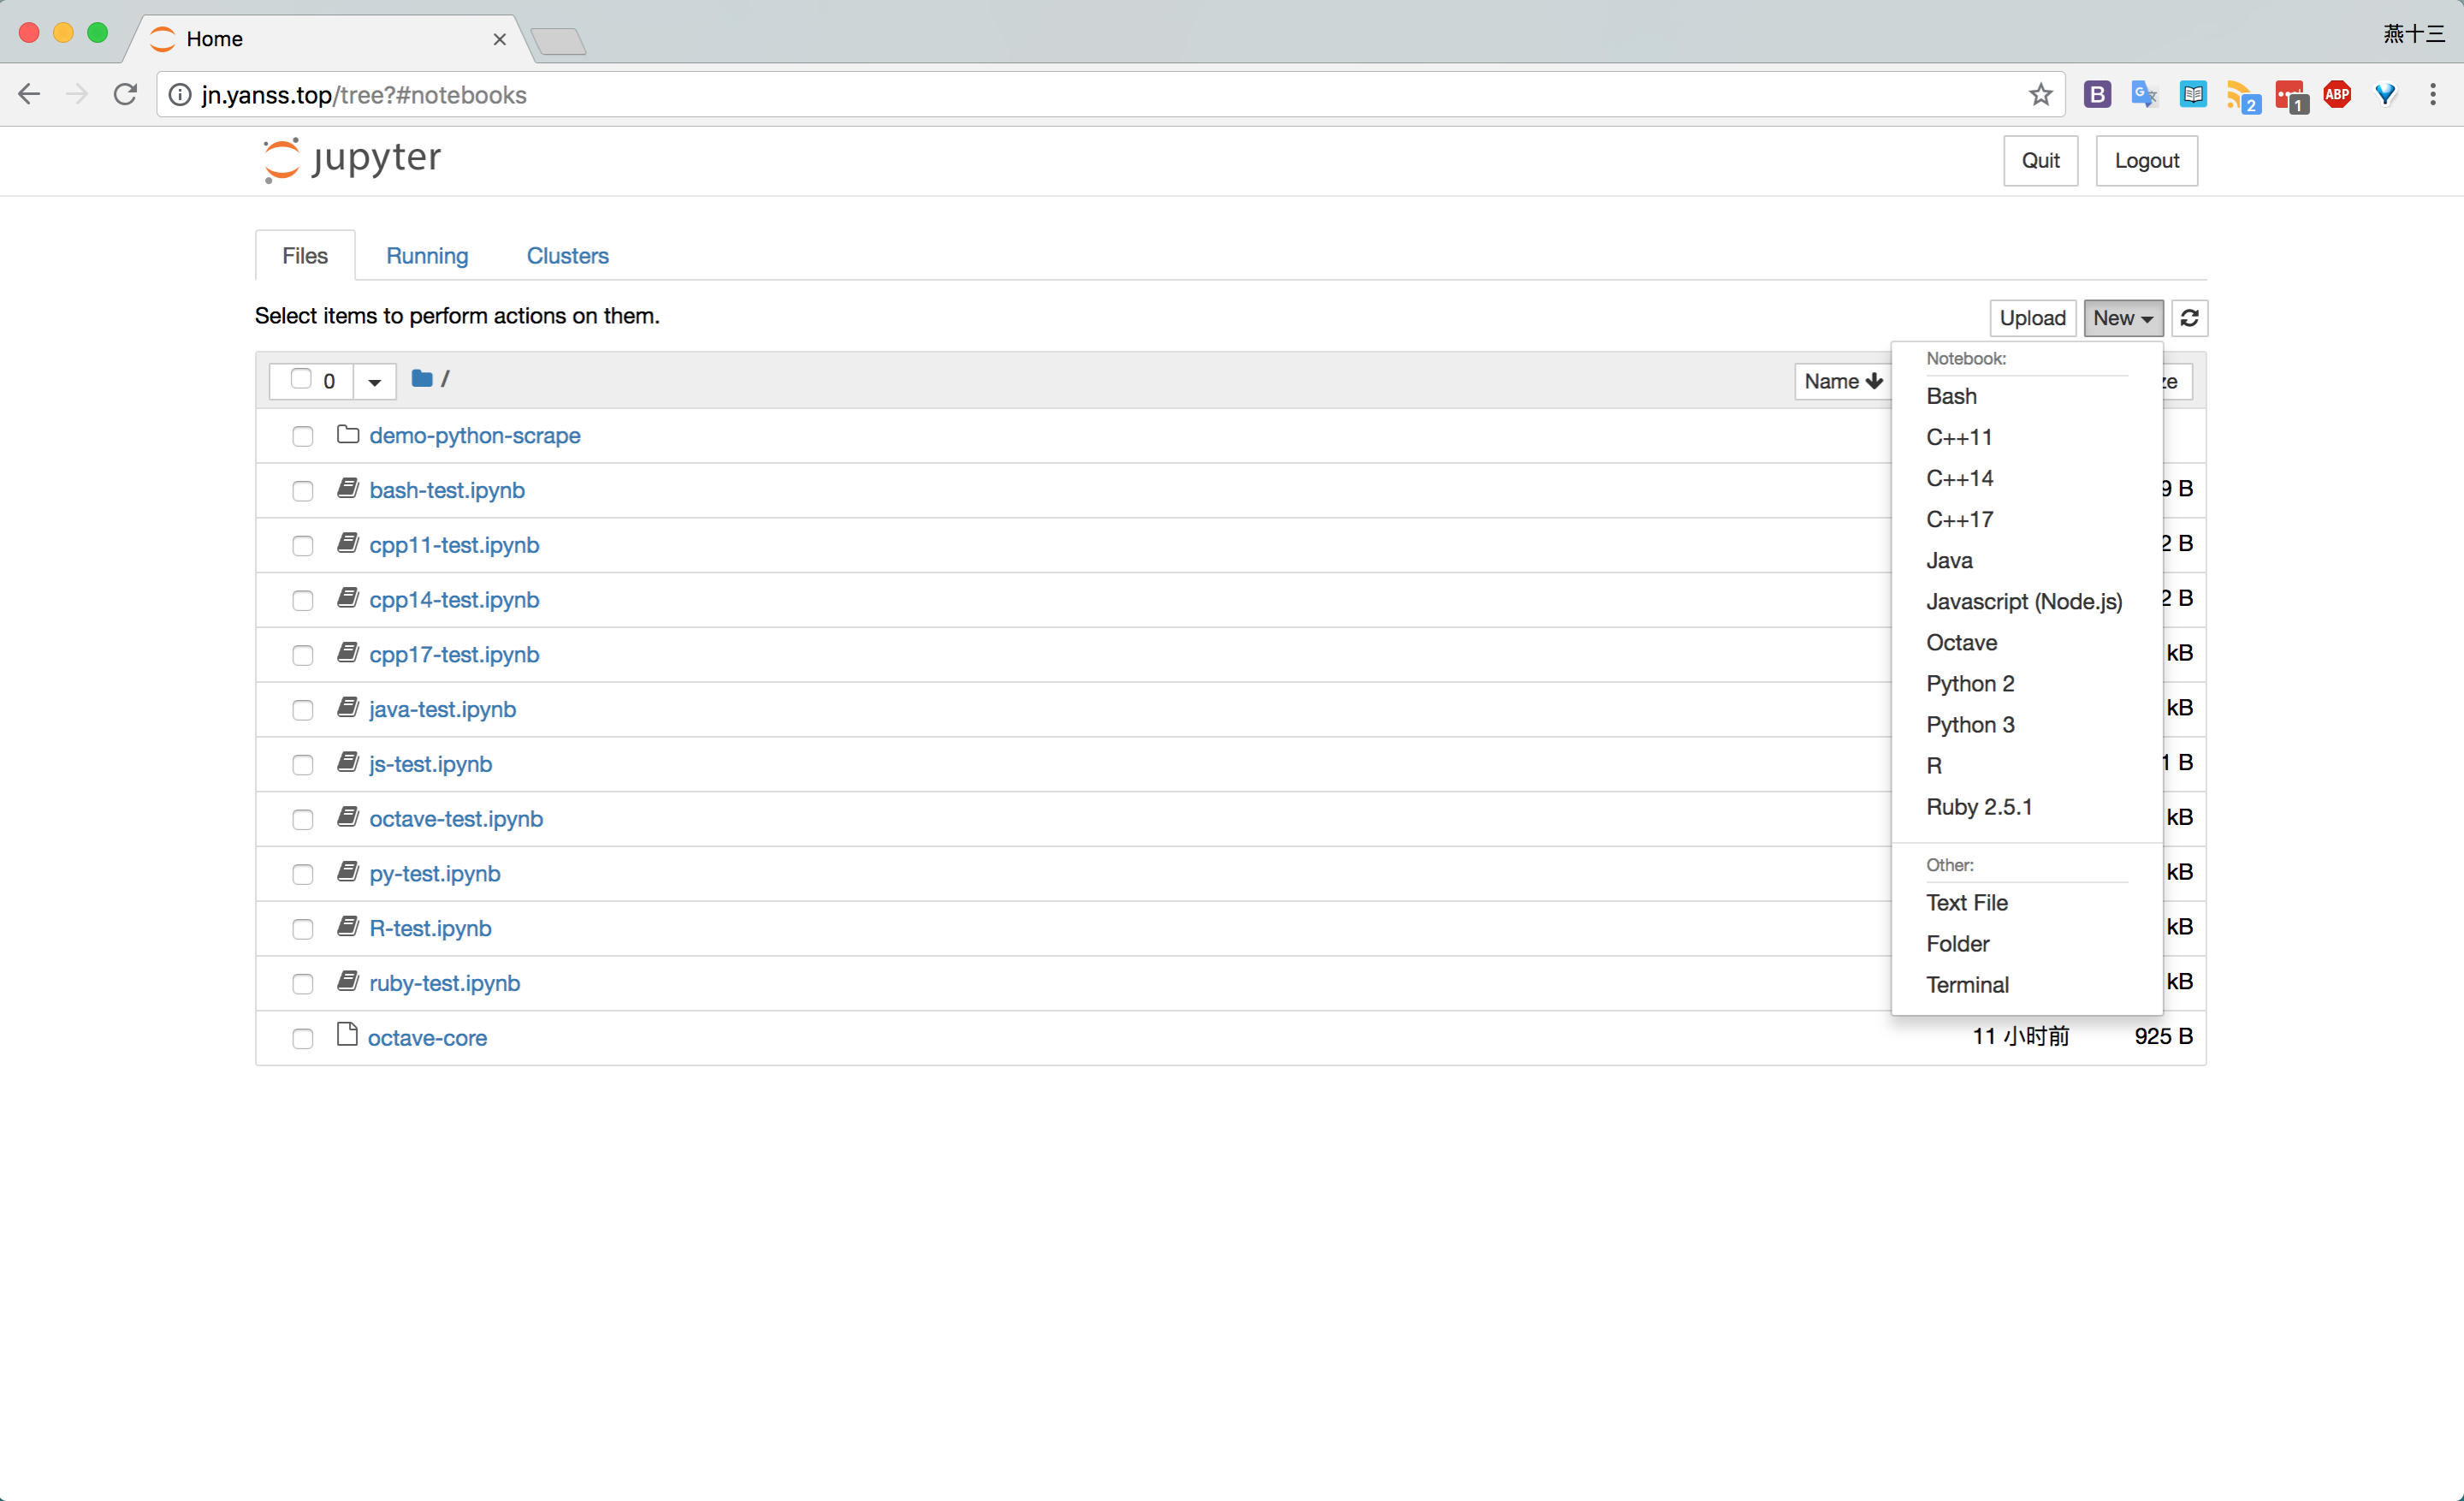
centos搭建Jupyter Notebook, 添加多语言支持(R,Ruby,Octave,JS,Java,C++).
常用命令
主要熟悉常用命令,wget [url]下载,
tar -xvf解压.tar.gz,
使用yum包管理工具yum search xx搜索, yum install xx下载。
whereis,which查找文件, find [path] -name xxx查找指定目录下的文件
ps -ef | grep jupyter 查看jupyter运行的pid
安装jupyter
下载Anaconda最新版本,省事。在官网找到下载链接,python3.6版本,然后
1
wget https://repo.anaconda.com/archive/Anaconda3-5.2.0-Linux-x86_64.sh
然后运行脚本
1
bash Anaconda3-3-5.2.0-Linux-x86_64.sh
中间需要确定时确定即可,等待安装完成,会自动写入环境变量。
1
2
conda --version
jupyter --version然后按照官网步骤,设置config
1
2
jupyter notebook --generate-config
# 会生成config文件为 .jupyter/jupyter_notebook_config.py设置密码
1
2
3
from notebook.auth import passwd
passwd()
# 会生成类似 sha1:xxxxxxxxxxxxxxxxxxx, 需要记一下然后编辑 config文件
1
vim .jupyter/jupyter_notebook_config.py
修改这些行,去掉注释,填相应值。其他选项也可以自己设置
1
2
3
4
c.NotebookApp.password = 'sha1:xxxxxxxxxxxxxxxxxxx'
c.NotebookApp.ip = '*'
c.NotebookApp.open_browser = False
c.NotebookApp.port = 8888开放和重启防火墙
centos7:1
2
3firewall-cmd --zone=public --add-port=8888/tcp --permanent # 永久开放8888端口
firewall-cmd --reload # 重启firewall
firewall-cmd --list-ports # 查看开放端口centos6:
1
2
3/sbin/iptables -I INPUT -p tcp --dport 8888 -j ACCEPT # 开放8888端口
/etc/rc.d/init.d/iptables save # 保存
service iptables status # 查看防火墙状态启动server,
jupyter notebook。如果需要后台启动,运行nohup jupyter notebook > jupyter.log 2>&1 &
安装其他kernel
主要根据 [Jupyter kernels wiki](https://github.com/jupyter/jupyter/wiki/Jupyter-kernels)
py2.7
1 | conda create -n ipykernel_py2 python=2 ipykernel |
ruby
iruby, ruby需要版本大于2.1
准备工作,安装环境。
yum 下载的可能不是最新的ruby,所以用1
sudo yum install -y git-core ruby-devel ruby zlib zlib-devel gcc-c++ patch readline readline-devel libyaml-devel libffi-devel openssl-devel make
ruby kernel需要ZeroMQ
1
2
sudo yum install zeromq-devel zeromq czmq
gem install cztop rbczmq ffi_rzmq安装iruby kernel
1
2
gem install cztop iruby
iruby register --force
R
按照irkernel的安装步骤,
或者直接1
conda install -c r r-essentials
octave
pip
1 | pip install octave_kernel |
或者conda
1 | conda config --add channels conda-forge |
js
首先安装nodejs和npm,然后
1 | npm install -g ijavascript |
java
IJava ,需要安装java 9或10,设置好环境变量,
1 | export JAVA_HOME=/usr/java/jdk-10.0.1/ |
然后
1 | git clone https://github.com/SpencerPark/IJava.git --depth 1 |
c++
1 | conda create -n cling |
有个问题是需要切换到cling环境启动jupyter才会有c++的kernel,找了一下cling 的kernel文件
1 | find anaconda3/envs/cling -name kernels |
输出
1 | anaconda3/envs/cling/lib/python3.6/site-packages/notebook/services/kernels |
进入到/share/jupyter/kernels,发现了
1 | cd anaconda3/envs/cling/share/jupyter/kernels |
输出
1 | total 16 |
现在,看一下jupyter kernel的文件目录在哪
1 | jupyter kernelspec list |
输出
1 | Available kernels: |
确定是.ipython/kernels/的这一个。
将xeus-cling-cpp11 xeus-cling-cpp14 xeus-cling-cpp17这三个文件夹复制到.ipython/kernels/下
1 | cp xeus-cling-cpp11 .ipython/kernels/ |
完成。