在coding.net上答应了好几个评论的朋友要写一篇教程,不多说,我们直接进入主题。
我搭建博客用的是hexo框架,因为这个框架比较简单轻便,而且依赖于node.js管理包文件,我以前用过也用过一些npm的内容,所以选了这个。这里提一句,基于coding或者github搭建的博客都是静态页面,轻量简洁,相对的功能上不如Wordpress那样强大,但是我们也可以用第三方插件实现文章统计,网站计数,博客评论等功能,看自己喜好加吧。
好了,现在我们开始操作。
step 1 安装环境
环境有三,node git hexo,hexo最后装。
git
直接去下官网最新版本,安装步骤就不停next就好,不放心的话搜一下百度知道,有几个步骤需要斟酌,不过影响不大。链接在这里git官网。
node
也是官网最新版本,node.js中文官网现在好像是8.x了,这个就一直next安装,装好后在桌面打开cmd,
npm是node.js集成的包管理工具,现在是直接随node装好了。
查看版本号,成功显示就能用了,如果显示不是可用的命令就需要手动添加node环境变量,这个也简单,百度知道全有。
hexo
在桌面右键,git bash,然后输入1
npm install -g cnpm --registry=https://registry.npm.taobao.org
这里用cnpm是因为npm连接不太稳定,我用npm也是装了两次hexo才成功。而cnpm是淘宝团队提供的一个npm镜像库,国内访问非常快,以后的npm命令就在前面加一个c,使用方法完全相同。然后
1 | cnpm install hexo-cli -g |
在某个盘下新建一个文件夹,取名随意,我是blog。
然后在这个文件夹下右键,git bash,然后
1 | hexo init |
即在此初始化hexo源文件,需要这个blog文件夹初始为空。然后
1 | cnpm install |
这一步是安装通用的npm包文件,如果有特定的npm包需要额外添加。我们除了通用包,还要一个hexo部署博客的包文件,
1 | cnpm install hexo-deployer-git --save |
现在需要的基础包就安装好了。
step 2 测试本地发布
现在新建一个博客,在blog文件夹下右键,git bash,然后输入
1 | hexo new test |
这一步是在生成一篇空博客marksown文档,存在blog\source\_post路径下,可以用编辑器打开它,我用的是sublime,装了markdown editing和markdown preview插件,或者其他md编辑器都行,在test.md中随便写点什么,然后保存。接下来1
hexo g
这一步是hexo的核心,把md文件转为静态页面,并添加主题样式和必要的链接,生成的文件在public下。然后
1 | hexo s |
这样,就是在本地预览博客,在浏览器地址栏中输入
1 | http://localhost:4000 |
就可以看到结果了。
现在只能自己浏览,想要让其他人也能看到,就需要部署到服务器上。租服务器不仅要花费,还要自己搭建web环境,太麻烦了,而且不适合学生党和技术不够的同学们,万幸github和coding都提供了静态页面解析的功能,所以我们把public文件夹下的内容push到一个git远程仓库就可以了。现在我们需要开始发布到coding的步骤。
step 3 本地博客部署到coding
首先,去官网登陆你的coding账号,没有就注册一个,然后完善个人信息,升级到银牌会员(才能绑定个人域名)。然后新建一个repository,项目名称就填你的用户名,选择私有,然后创建项目。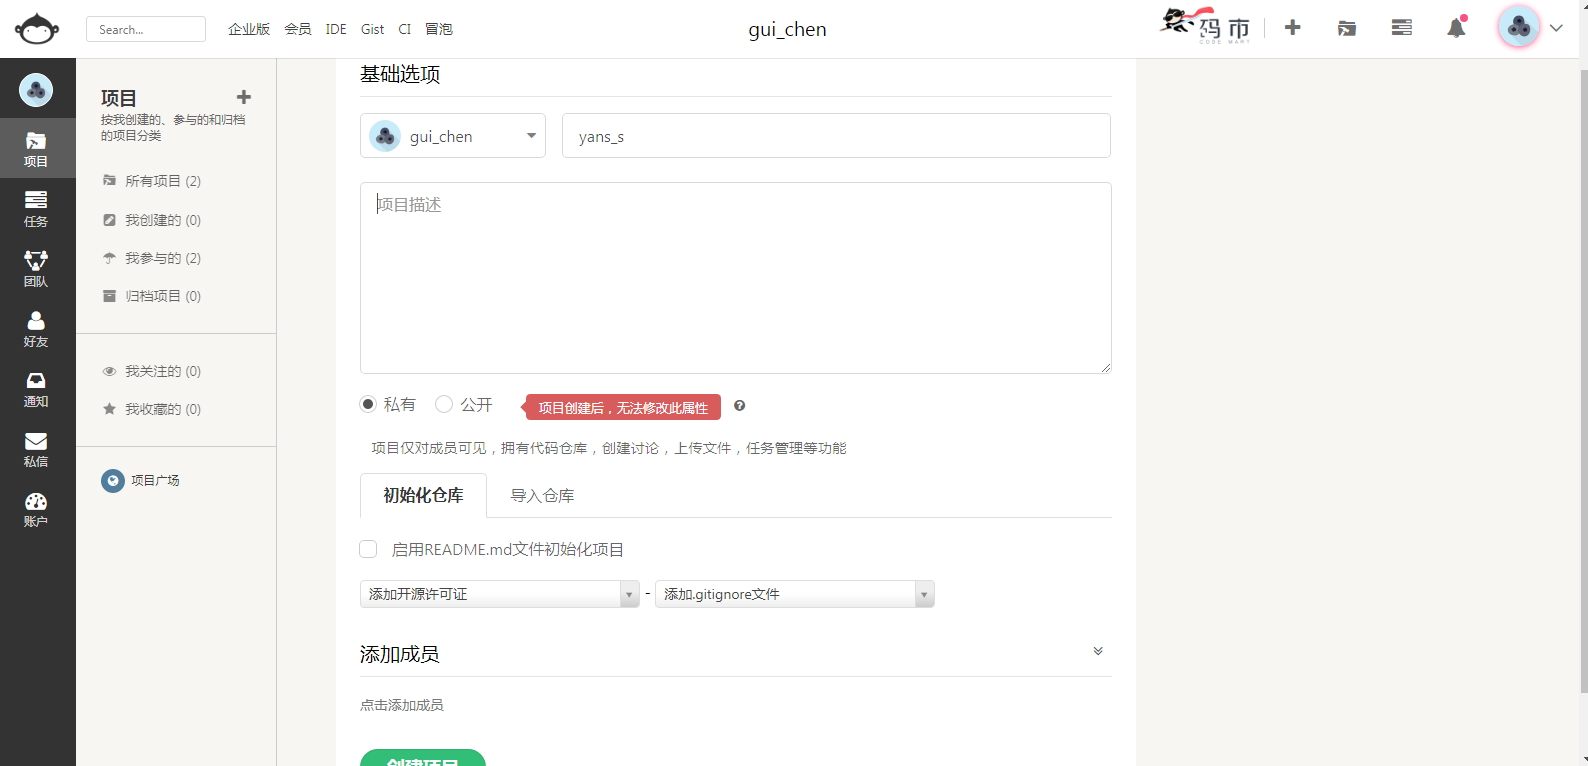
现在有了远程仓库,就要把本地仓库和远程仓库关联起来,首先在blog目录下git bash,然后输入1
git config -l
查看你的git配置信息,像我的是这样1
2
3
4
5
6
7
8
9
10
11
12
13
14
15
16
17
18
19
20
21
22
23
24
25
26
27$ git config -l
core.symlinks=false
core.autocrlf=true
core.fscache=true
color.diff=auto
color.status=auto
color.branch=auto
color.interactive=true
help.format=html
rebase.autosquash=true
http.sslcainfo=C:/Program Files/Git/mingw64/ssl/certs/ca-bundle.crt
diff.astextplain.textconv=astextplain
filter.lfs.clean=git-lfs clean -- %f
filter.lfs.smudge=git-lfs smudge -- %f
filter.lfs.required=true
filter.lfs.process=git-lfs filter-process
credential.helper=manager
user.name=xxx
[email protected]
core.repositoryformatversion=0
core.filemode=false
core.bare=false
core.logallrefupdates=true
core.symlinks=false
core.ignorecase=true
gui.wmstate=normal
gui.geometry=841x483+343+178 189 218
这里你只用关注的是这两行1
2user.name=xxx
[email protected]
如果你没有这两行,那么你需要添加配置:1
git config --global user.email "your email"
和1
git config --global user.name "your name"
将双引号中内容替换为你自己的coding用户名和邮箱,可以在coding个人设置中查看自己的用户名和邮箱。
然后我们给本地添加一个SSH key,这样的话每次部署就不用输密码。在git bash中输入1
ssh-keygen -t rsa -b 4096 -C "your email"
成功会出现以下代码:1
2
3# Creates a new ssh key, using the provided email as a label
# Generating public/private rsa key pair.
Enter file in which to save the key (/Users/you/.ssh/id_rsa): [Press enter] // 推荐使用默认地址,如果使用非默认地址可能需要配置 .ssh/config
然后一直回车,回车,回车,然后在 Coding.net 添加公钥
本地打开 id_rsa.pub 文件(一般在c盘用户文件夹下,进入你的用户文件夹,有一个.ssh文件,打开其中的id_rsa.pub ),复制其中全部内容,添加到Coding账户“SSH 公钥”页面 中,公钥名称可以随意起名字。
完成后点击“添加”,然后输入密码或动态码即可添加完成。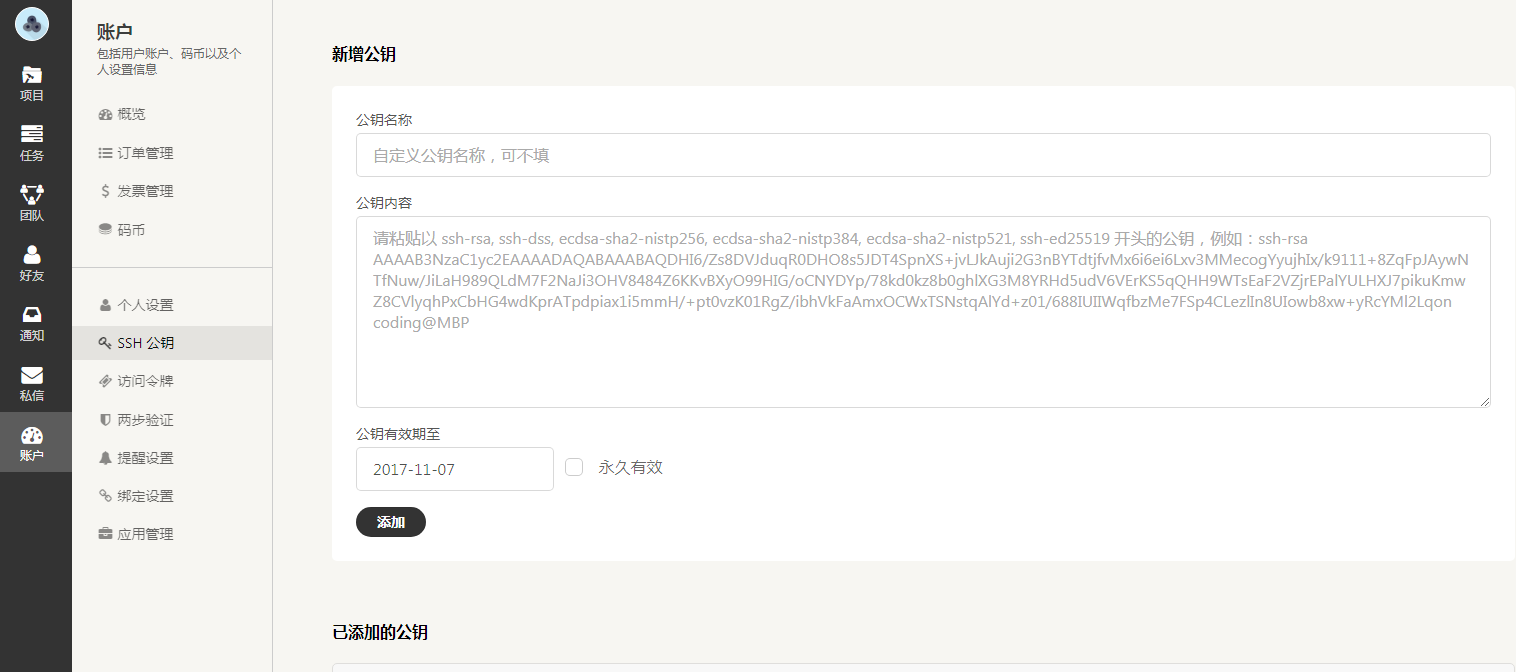
这里要注意是账户的SSH公匙,而不是项目中的设置的部署公匙,切记。
现在验证一下是否添加SSH公匙成功,在git bash中输入1
ssh -T [email protected]
如果成功,会出现以下代码
1 | Are you sure you want to continue connecting (yes/no)? yes |
现在就已经添加好了公匙,我们离博客部署到coding只差一步。
step 4 部署博客到coding
首先打开blog文件夹下的_config.yml文件,这是我的配置,你需要修改的地方我都加了注释,别的不要动,还有就是要注意这里yml文件是用的yaml脚本语言,对语法要求很严格,每个:后面要加上空格,没空格会编译出错。
1 | # Hexo Configuration |
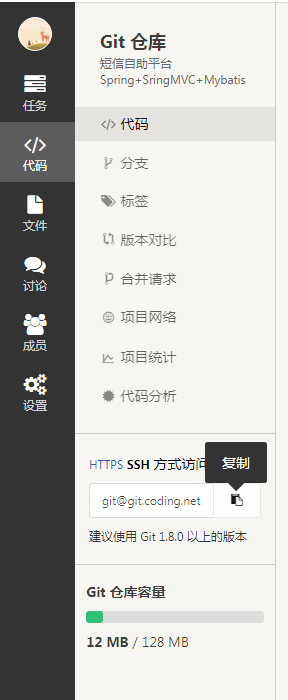
打开coding网站上你刚才创建的仓库,点击代码,左下角选择SSH方式访问仓库,复制那个链接,把它填到你的_config.yml的repo那里。
现在我们就可以开始部署博客了,记得部署之前最好清理一遍public文件夹,也就是这样
1 | hexo clean |
或者你也可以直接
1 | hexo d -g |
coding+hexo的博客部署操作就是这些了,有问题可以下方留言评论。